Tuesday, July 29, 2014

My DIY Pedicure Essentials

Sooo.... long time no post.  Things have been slightly crazy for me lately, but I wanted to put an end to my blog hiatus!

I am going to show you my essential tools and products for the perfect at-home pedicure.  I do have dry skin and I like to keep my feet looking nice and smooth.  I try to do this routine at least twice a month, and it has been working wonders for me!


If I am going to be repainting my toenails, I remove my nail polish and then I start off with this scary device.  This tool really helps to exfoliate rough areas and to smooth out any deep cracks or dry patches.  PLEASE BE CAREFUL!  It can be very easy to overdo it with this tool and that is extremely painful.  I have the best results when I start out with dry feet.  I have tried it with damp feet as well, but I find that I get a better and more controlled result when my skin is dry.  I use the metal side on my heels, and the outer edges of my feet and toes.  Anywhere where your skin is particularly dry and cracked.  I work slowly to be sure that I am not taking away too much skin.  Once I have finished, I run my feet under warm water and then use the file-like side of the tool.  This texture works well to refine the skin and smooth out anything that may have been left behind. 


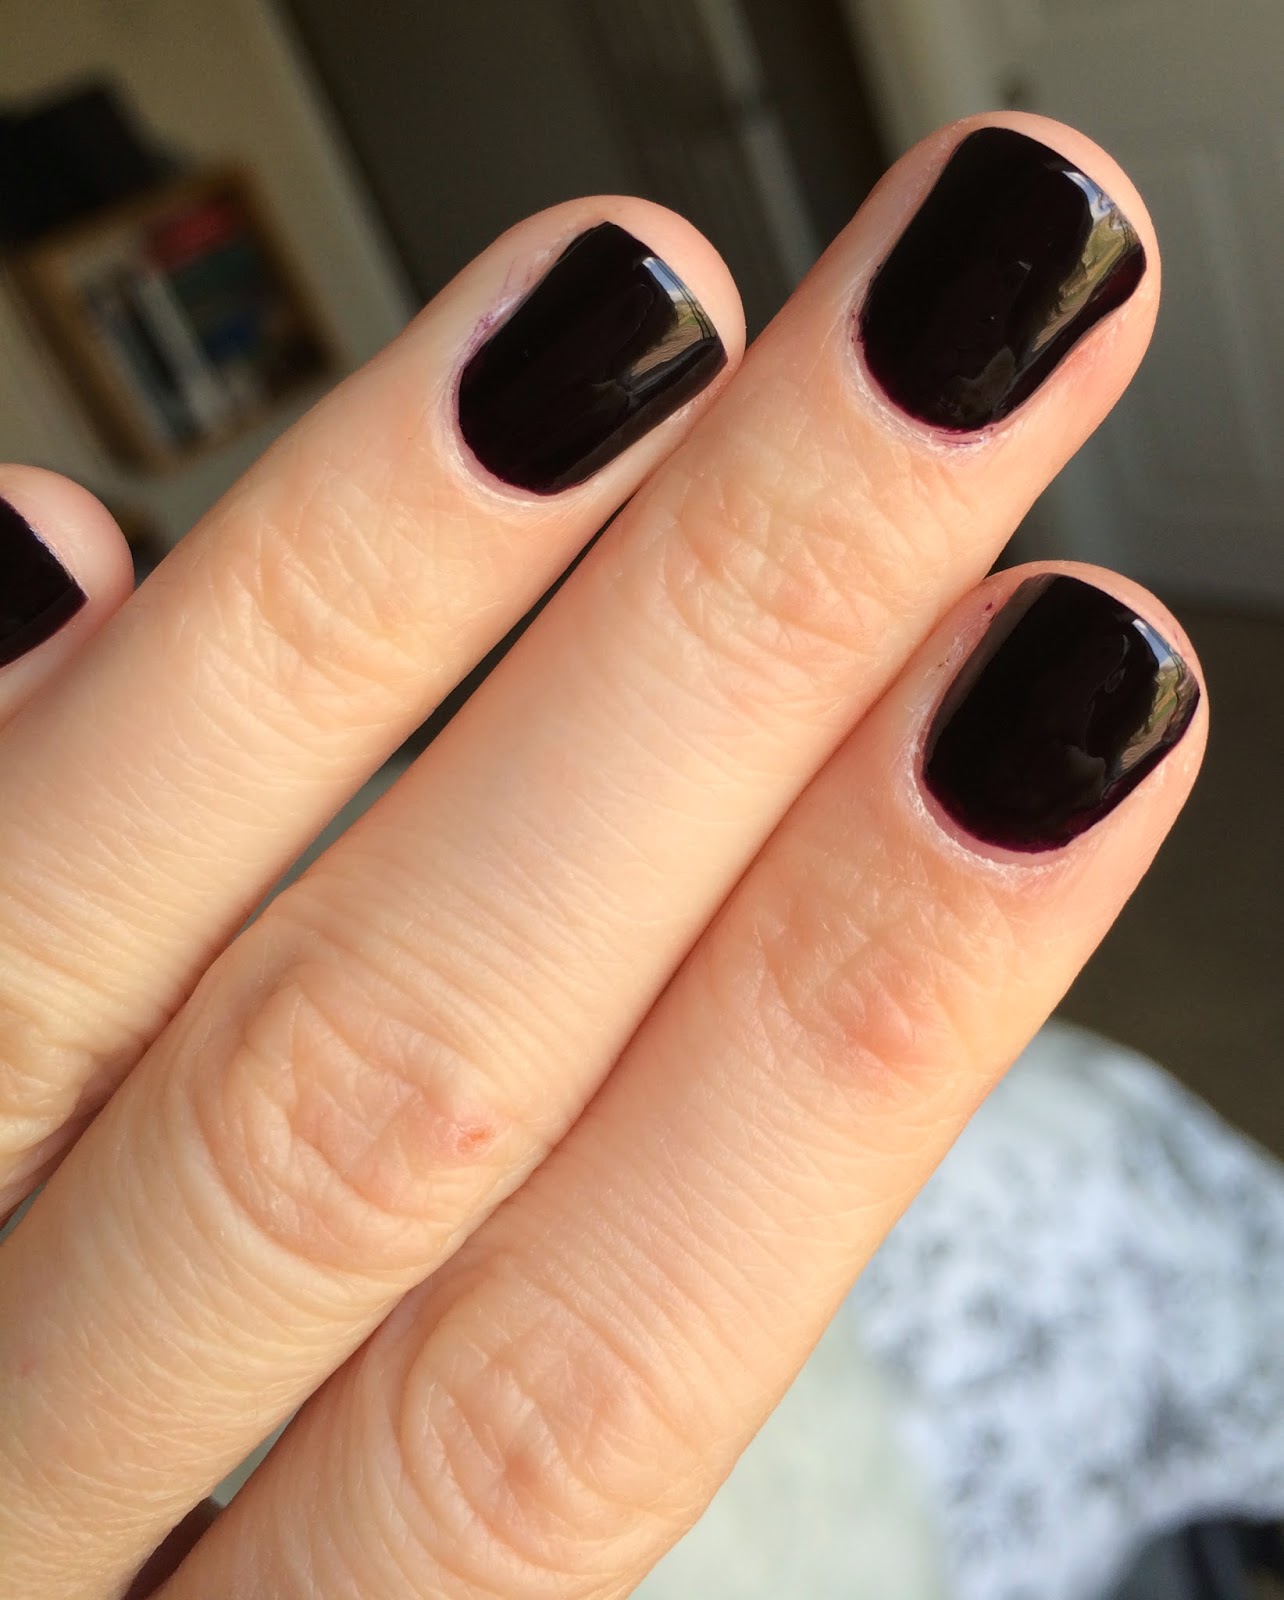
If I am repainting my toenails, this is when I will trim and file my nails.  I like to use a straight nail clipper instead of a curved one because my toenails are very square.  Next I push back my cuticles.  Once I have pushed back my cuticles I take my cuticle clippers and VERY CAREFULLY remove any dead skin around my nails while keeping my cuticle intact.  Do not fully remove your cuticles, only remove dead skin, and make sure that you do not cut too deeply.

Next I like to either soak or scrub my feet.  If I have time and feel like pampering myself, I fill the bottom of the bathtub, the sink (I have a large counter space that I can sit on), or a large bowl with warm water and some bath salts.  This is a nice extra step that makes your DIY pedicure more like a spa experience.  Whether or not I soak, I always use a heavy scrub.  My favorite is Ocean Salt by Lush.  This is a coarse scrub that gives me the best results.  Any coarse scrub will work, and you can even make your own.  I like to thoroughly scrub all over my feet and between my toes.


After I have dried my feet, I apply avocado oil.  This is a very rich oil that I buy from Whole Foods.  It absorbs well into the skin and provides moisture.  I concentrate this on my heels and my cuticles.


On top of the oil I like to apply a rich moisturizer.  You can skip this step if you don't have dry skin, but I like to bring as much moisture as I can into my skin.  I like to use my CeraVe Moisturizing Cream.  I love this and I also use it on my face.  It is a really wonderful moisturizer that sinks into skin and actually works.  I apply a thick layer of this all over my feet, concentrating on my heels.


Next I carefully slip into some fuzzy socks and then relax.  I try to leave the socks on overnight or for at least a few hours.


When I am ready to paint my toes, I wipe them with rubbing alcohol to make sure that there is not any remaining residue from the moisturizers and then put on my toe separators and start painting!  The toe separators are a must for me because they keep my toes from smudging each other, and they remind me that I have wet nail polish on my feet.  It may sound silly, but I hate waiting for nail polish to dry and I always find myself wanting to complete a million tasks immediately after I paint my nails.  I leave the toe separators on until the nail polish is completely dry so that I do not accidentally smudge the polish.

Let me know if you give this a try or if you have any DIY pedicure tips!

Thursday, June 12, 2014

Sally Hansen Salon Effects Nail Polish Strips


I have seen the Sally Hansen Salon Effects Real Nail Polish Strips countless times at Target and other drugstores but never actually tried them... until now!  I saw some strips from the new Summer collection and they were in flat packaging instead of the typical box, and they were only $5.49 each. This seemed to be a much more reasonable price than they usually sell for.  I picked up two packages and hoped for the best.

They were actually very easy to use.  I followed the perfect instructions as told by Leighannsays, and it was a very simple process.  I made sure that my nails were clean and wiped them down with nail polish remover immediately before beginning the process.  I found that the sizing of the strips was slightly off for my nails, but it really wasn't a huge issue for me.  I chose to use the Done to Scale pattern.  The stickers were super flexible and sticky, but still felt strong. They adhered nicely and were relatively easy to file down to fit my nail.  I obsessively pressed the edges down because I was nervous that they would lift.  Once I was finished I used a clear top coat all over, and made sure to thoroughly coat the edges of the strips.

I am AMAZED at how long these strips last!  It has now been a full seven days since I applied them and there are very minimal chips, although this particular pattern camouflages chips well.  The only chips that I see are tiny and are right on the edges of both middle fingers.


This photo is seven days after applying the strips.  Pretty great condition, you can see that they are growing out, but not really chipping.

Overall, I am very impressed with these nail polish strips and I can't wait to try the other pattern that I picked up.  If that one goes well too, then I will definitely pay more attention to these strips from now on.  They are so easy, especially for someone who hates waiting for nail polish coats to dry and lives in fear for 24 hours that they will smudge.  The strips are dry and ready to go very quickly, and as seen here, they last over a week.  Not to mention that it would take forever to attempt some of this nail art!  Give these a try if you haven't already!

Tuesday, June 3, 2014

Cosmetics Company Store Mini Haul!


I went to a Cosmetics Company Store for the first time ever and I was beyond excited.  I tried to keep it under control because I could have easily walked away with half of the store and an empty bank account...  I let myself buy three things and here they are!


The first think I picked up was the Estee Lauder Raisins eyeshadow duo.  I have been wanting this for a while now thanks to Tanya Burr and Zoella... Every time they used it I was so intrigued by it and I had to have it.  Luckily I came across it in the store because I have heard that it is difficult to find recently.  Anyway, I absolutely love it.  The lighter color is a shimmery light pink champagne color and the darker color is a slightly shimmery deep burgundy color.  Until the Naked 3 palette I would have been nervous to use these colors myself, but I am loving this palette so far.  Not to mention the packaging is amazing!


This is a light swatch of each color.  The shadows are very pigmented and blend nicely.


Next is also thanks to Tanya Burr... She has spoken about the Estee Lauder Double Wear Foundation and when I saw it in the store at a discounted price, I had to have it.  They had quite a few shades so I was really able to play around with them to find my perfect match.  I chose 1W1 Bone 17.  I'm not sure what the numbers correspond to but I thought I would include them anyway just in case.  I am very happy with this foundation.  It is nice to apply, and of course I use my beloved beauty blender.  It does not look too cakey on my skin and it really does stay in place.  I have noticed that it can feel a bit tacky on the skin, but as it sets, most of the stickiness goes away.  The color works very well for me and I am very impressed with the formulation of the product.  If only I had tried this sooner!


It is more of a yellow based shade, and it blends nicely to match my skin.  It is not too think but it does have a consistency that goes along with a long wearing foundation.


The last item that I picked up was definitely an impulse buy.  It is a MAC Mineralize Skinfinish in Centre of Attention.  I have never owned a MAC Mineralize Skinfinish and this one just caught my eye.  This product is highly pigmented and very shimmery.  I do use a very light hand with it, and for me there are no chunks of glitter or anything crazy, but there is a lot of shimmer.  I find myself straying away from the gold portion on its own because it is a very true gold.  However, the gold and the pink can be mixed for a nice highlight, and the gold can come in handy with certain looks.  The pink is much easier to wear, and it transfers onto the skin as a very light pearly pale pink.  When blended out I do not see the pink shade, but the shimmer does stay.


The top swatch is the pink on its own, the middle is the gold and pink together, and the bottom is the gold on its own.

I am very excited to have finally made it to a Cosmetics Company Store, and I know that I will need to visit one again in the near future...  It is definitely Disneyland for makeup addicts!

Tuesday, May 20, 2014

Hot Weather Makeup!


I have lived in a hot area my entire life, so I have picked up a few tricks for keeping your makeup fresh during the summer.  I will share my tips and my go-to products for long lasting and comfortable makeup for the hot days of Spring and Summer!

Tuesday, May 13, 2014

Candle Haul!


Once in a while I find it difficult to resist the 3-wick candles at Bath and Body Works... especially when they are on sale.  I love having different scents for the seasons and I was definitely lacking in the Spring/Summer scent category.  I ordered these online for the first time ever because I didn't find out about the sale until a few hours before it ended and did not want to go to the mall.  Buying candles online can be risky, but I felt confident enough about the return policy so I went for it.  There was also a coupon code featured on the website for 25% off... so I really had no choice but to buy the candles, right?


I knew right away that I wanted Coconut Leaves, it is one of my favorite summer scents from Bath and Body Works and I always buy some version of the candle each year.  This is the first time I bought it in the 3-wick version so hopefully it is still just as great.  In the jar it smells like a sweet and fresh coconut.  It is not too Hawaiian Tropic smelling, but it is just a pleasant clean coconut.  The label describes it as a "fusion of juicy tangerine and papaya that gives way to soothing coconut notes."  I would say that this is accurate.  You can definitely smell something fruity with the coconut but it is subtle and fresh without smelling like a pina colada.  The scent throw of this candle has been great for me in the past, and the room ends up smelling fresh and summery, and I do not find the coconut smell to be too overpowering.
Side note, I really like the re-vamped packaging of this candle this year!

____


Okay I will admit that I picked Pink Petal Tea Cake based entirely on its name and packaging.  Horrible, I know.  I do not typically go for cake-type scents and the label describes this as "the fragrance of a pink petal tea cake made from garden rose petals, freshly baked cake and vanilla glaze."  I loved the look of this candle so much, but when I read that description I became slightly nervous.  Cake and vanilla glaze??  No thank you... But I do love rose scents and I decided to go for it.  I AM SO GLAD THAT I DID!  This candle smells absolutely amazing.  It smells sweet and slightly fruity, but the rose really balances it out.   To me, it is the most perfect fresh and girly scent.  It is not too overpowering, and the sweet cakey scent is really mixed well with a delicate floral scent.  My entire house smelled like this candle and everyone commented on how great it was.  This may be my new favorite Bath and Body Works candle...


Also, how perfect is this lid??

____


I decided to go for 3 candles instead of just 2, mostly because I was nervous that I would not like the Pink Petal Tea Cake.  I let my boyfriend pick this one out, it is Springtime in Provence.  He likes fresh citrusy scents, and when I read this description he said that it sounded perfect.  It is described as "a blend of fresh raspberries, juicy peaches, and a hint of citrus."  I was interested to see that a "Springtime" scent consisted mainly of fruit, and I thought that it would be a refreshing change.  The peaches and citrus definitely stand out, but I do not really smell raspberries.  It is a very fresh scent, and although it is fruity it also smells clean and sophisticated.  It burns well and is not overwhelmingly fruity.  I can imagine that this scent would be great to burn when the house is clean and you are preparing for a dinner party.  Is that weird?  It just smells so clean and refreshing!


This candle also has a decorated lid.

____

Usually I am able to resist the 2 for $22 3-wick candle sale at Bath and Body Works, but this time they had me and I am so pleased with the candles I picked.  I was also very impressed with the shipping and delivery process.  The package came earlier than initially stated, and each candle was very well wrapped.  They were each wrapped in cardboard and a decent layer of bubble wrap.  I enjoyed the online shopping experience for these candles, and I now know that I would be comfortable shopping for their candles online in the future.

If you have been thinking about purchasing any of these candles, I hope this helped you!  It is always interesting to see how things smell to different people, I may love something that you hate, so it is nice to get individual perspectives.  Let me know if there is something I should try!

Thursday, May 8, 2014

Garnier Cleansing Oil vs MAC Cleanse Off Oil


I have been completely obsessed with the MAC Cleanse Off Oil for a few years now and I have never felt the need to switch up my makeup remover.  I love the idea that you can use one product to remove all of your makeup without using an irritating cotton pad or wipe.  The oil works very quickly to break down your makeup (even waterproof mascara!) and rinses away very easily.  The only time I strayed from my MAC Cleanse Off Oil was to try a No 7 product from Target that made the same claims.  I'm sorry I do not remember the name of it but it was pretty bad.  Since then I never wanted to stray from my beloved.

UNTIL I saw the Garnier Clean+ Nourishing Cleansing Oil.  It was only $5.99 at Target so I decided to give it a try.  In the video I use this product on one half of my face and the MAC Cleanse Off Oil on the other half.

I definitely noticed that the Garnier has a thicker consistency but otherwise they actually seemed to work equally as well and neither one left a residue on my skin.  I was wearing black eyeshadow and waterproof mascara in the video, and you can see that the Garnier actually cut through my mascara more quickly than the MAC product.

If you would like to see a side by side comparison and demo of these two lovely products then watch the video!  Have you tried either of these?  Let me know!

Wednesday, May 7, 2014

Painted My Nails!


I do not typically paint my nails so I thought that I would show you!  My absolute favorite nail polish of all time is OPI Lincoln Park After Dark.  It is the most beautiful color and I always love the way that it looks on my nails.  It is an extremely dark purple, but on the nails it does look black unless you examine it closely.  I like this because I love super dark colors all year, but the slight purple of this shade really suits my skin tone better than a plain black.  I have repainted this on my toes about 5 times in a row.  It's the best!

Monday, May 5, 2014

One Eyeshadow Tutorial: Matte Black


I was definitely someone who used to be afraid to use super dark eyeshadows, especially the ones in the Urban Decay Naked palettes.  I have learned that these shades are actually very versatile and can be used in many different ways.  In this video I will show you how to use only a matte black eyeshadow to achieve a full smokey eye look from shadow to liner.

I hope you enjoy!  Let me know if you have a trick for using dark eyeshadow!

Friday, May 2, 2014

How I Fill My Eyebrows


To follow up from my post a few days ago about how I groom my eyebrows I thought that I would go over how I fill them in when I do my makeup.  I think that a well-done brow really defines the face, and for blondies like me, filling in light colored brows really makes a difference.  I do try to keep them light and natural because I'm so fair, but you can cater this process to meet your needs. 


This is what I start out with.  Not too bad, but definitely pretty fair in color and there are some sparse areas.


These are the tools that I will be using.  Any angled eyeshadow brush will work, as well as any spoolie brush.


This is the eyebrow kit that I use, it is the Milani Brow Fix Brow Kit in light.  As you can see I was using the middle shade which is called "Brow 1," but I have recently switched to "Brow 2" because I like the look better and I use less product.


I dab the brush into the powder and start applying the product with short strokes into the middle of my brow where the natural arch is.  This is the part of my brow that I would like to define the most so this is where the product can be heavier.  I blend it out from there to fill the rest of my brow.  I just follow my natural shape.


After applying the powder I like to blend it in with the spoolie brush.  This just helps to make sure that the product has not built up in any particular section and helps to keep the look relatively soft and natural. 


I use a clear mascara to set my brows into place.  I use the Maybelline Great Lash Clear Mascara.  This works very well for my brows and they never feel crunchy or stiff.


I lightly distribute the mascara through my brows.


After applying the mascara I go back with the spoolie just to make sure that everything is in place and to prevent the mascara from building up and looking crunchy.


This is my finished look!  I have tried different products and methods and this one works the best for me.  As I said I really just try to keep it natural and soft but still defined.  Eyebrows can definitely make or break a look, and I really love the look of a strong brow. 

I hope you enjoyed!  Let me know if you have a method that works for you!


Sephora, Bath and Body Works, & Target Haul!


Because who doesn't like shopping?!?!  I picked up some random goodies and wanted to share them with you.  I hope you enjoy!  :)

Products mentioned:
Beauty Blender http://bit.ly/1kwqWjb
Benefit They're Real Mascara http://bit.ly/1uefgbx
BBW Hand Soap Provence Garden http://bit.ly/1uefz6k
BBW Hand Soap Wildberry Freesia http://bit.ly/ShIfNv
BBW Hand Soap Island White Pineapple http://bit.ly/RbXQwR
BBW Hand Soap Wild Poppies http://bit.ly/1krI5th
Method Pure Naked Moisturizing Body Wash (I couldn't find the exact scent online... sorry!) http://tgt.biz/1hkuEu8
St Ives Collagen Elastin Body Lotion http://tgt.biz/1krJ8t5
Boots Expert Sensitive Gentle Refreshing Toner http://tgt.biz/1hkv0kv
Conair Ceramic Wood Natural Shine Booster Round Brush http://tgt.biz/1nQt3Ug
Garnier Nourishing Cleansing Oil http://tgt.biz/1iLIKEr

Thursday, May 1, 2014

How I Maintain My Eyebrows


I have been pretty lucky in the eyebrow department, and have always managed to maintain them myself.  I have had them professionally done twice in my whole life, but only as a treat or as part of a gift package.  Luckily I do not have any horror stories about at-home eyebrow grooming, so I thought that I would share my method with you.  I do have a lot of blonde hair in my brows, which is definitely a blessing and a curse.  A blessing because a lot of the hair is very fine and nearly invisible, a curse because the fine little white blonde hairs are IMPOSSIBLE to pluck.  They are just so hard to see and nearly impossible to grasp with the tweezers.  Aside from that, I think that I have developed a pretty good system for keeping my brows in check.


This is how I start out.  I have a pretty good natural shape, I just like to clean up around the edges and trim the hairs to be shorter to keep them from becoming unruly.


I start with clean skin and I like to rub a small amount of toner over the area just to make sure that there is no oil or residue from my moisturizer.  The one I used is the Boots Expert Sensitive Gentle Refreshing Toner.


Next I like to use a spoolie brush to brush all of the hairs straight up.  This allows you to trim the hairs easily.  It may require a lot of brushing to move your eyebrows away from their natural path but this step is really necessary if you want to trim the excess length.


When it comes to the actual trimming, I use a set of cosmetic scissors that I received in a travel kit several years ago.  I never really used them for anything until one day I realized that they were perfect for my eyebrows.  Any small pair of scissors will work.  When you are actually cutting, make sure to go slowly and to take a step back and make sure that you are not cutting into your shape.  I like to just trim the hairs that stick up over the edge of the brow when combed up.


As you can see, trimming gives the brow a much more defined shape and will prevent them from becoming messy throughout the day.


After trimming I go in with my tweezers.  I don't like to tweeze too close to the actual brow, I just like to stick to the area below and right at the tail of my brows.  Again, make sure to take a step back every now and then to make sure that you aren't over-plucking.  Try to work on one brow at a time.  Obviously they should have the same basic shape, but each brow can be different and you may ruin your shape if you try too hard to make it match the other.


Next I like to take care of some of those pesky blonde hairs that I have.  These hairs are nearly invisible, however they can catch the light and makeup will cling to them, which can quickly ruin a look.  I like to use the Sally Hansen Wax Strip Kit.  It comes with pre-waxed strips that are perfect for my brows.  I have never tried them anywhere else on the body, so the box lasts for a very long time.  There are differently sized strips, but they can easily be cut down to the shape you want. 

You simply warm the strip between your hands and then peel it apart and apply to your skin.  Be sure to rub it in the direction of hair growth and then while keeping skin taut, quickly pull the strip off in the opposite direction.  I am able to use each side of the strip after I peel it apart.  These strips are very easy to use, and help me to remove the little blonde fuzzy hairs that I get around my brows to keep them looking clean and defined.


(I do have a natural dent in my brow shape near the arch on my left brow, which is shown here, and hair does not really grow there.  I typically fill this area in when I apply my makeup)

I use the strips between my brows, and then along the top edge and at the very end of my brow.  I am EXTREMELY careful to avoid my actual eyebrow when I apply the strips because it would be very easy to accidentally wax off half of your eyebrow.  I know it is difficult to see in the photo, but I do keep a small line of skin between my actual brow and where the wax is applied.


This is my brow after the trimming, plucking, and waxing.  You can see some redness beneath my brow from the plucking, and this is why I can't really wax this area.  For me, this skin is very delicate and I have injured it by trying to wax it before.  Be cautious of waxing in this area, just to avoid tearing your skin.


Once I have finished the hair removal process, I apply the Azulene Finishing Oil that comes in the Sally Hansen kit.  It is soothing to the skin and has a nice cooling sensation.  Some may think that it stings, but for me it helps to cool any irritation left behind after waxing.  The oil also helps to remove any waxy residue that may have been left behind.  My redness typically fades pretty quickly, but I usually like to wax my brows before bed just so that my skin can settle without any make-up and so that the redness will be completely gone by the morning.

I hope that this was helpful to anyone looking to try at-home eyebrow grooming.  It is very simple and once you have tried it a few times you will find a routine that works for you.  I do not find that this method is painful, and any stinging does fade pretty quickly.  This method has been working for me for a few years now, let me know if it works for you!  :)